
Previous

News
How to Install a Stainless Steel Shower Niche: A Step-by-Step Guide
Release date: June 18, 2025
View count: 1975
Share:


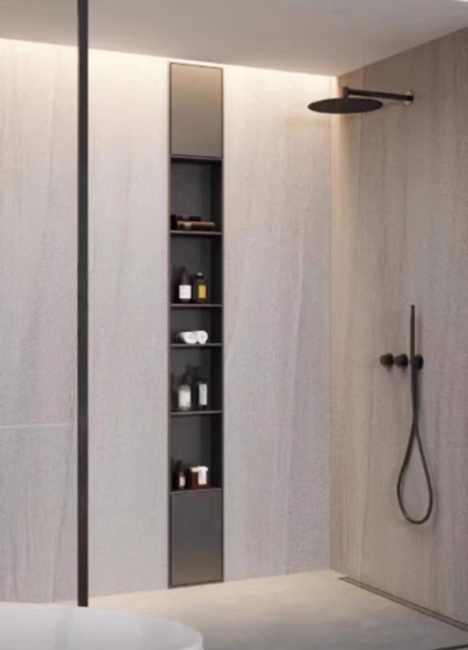
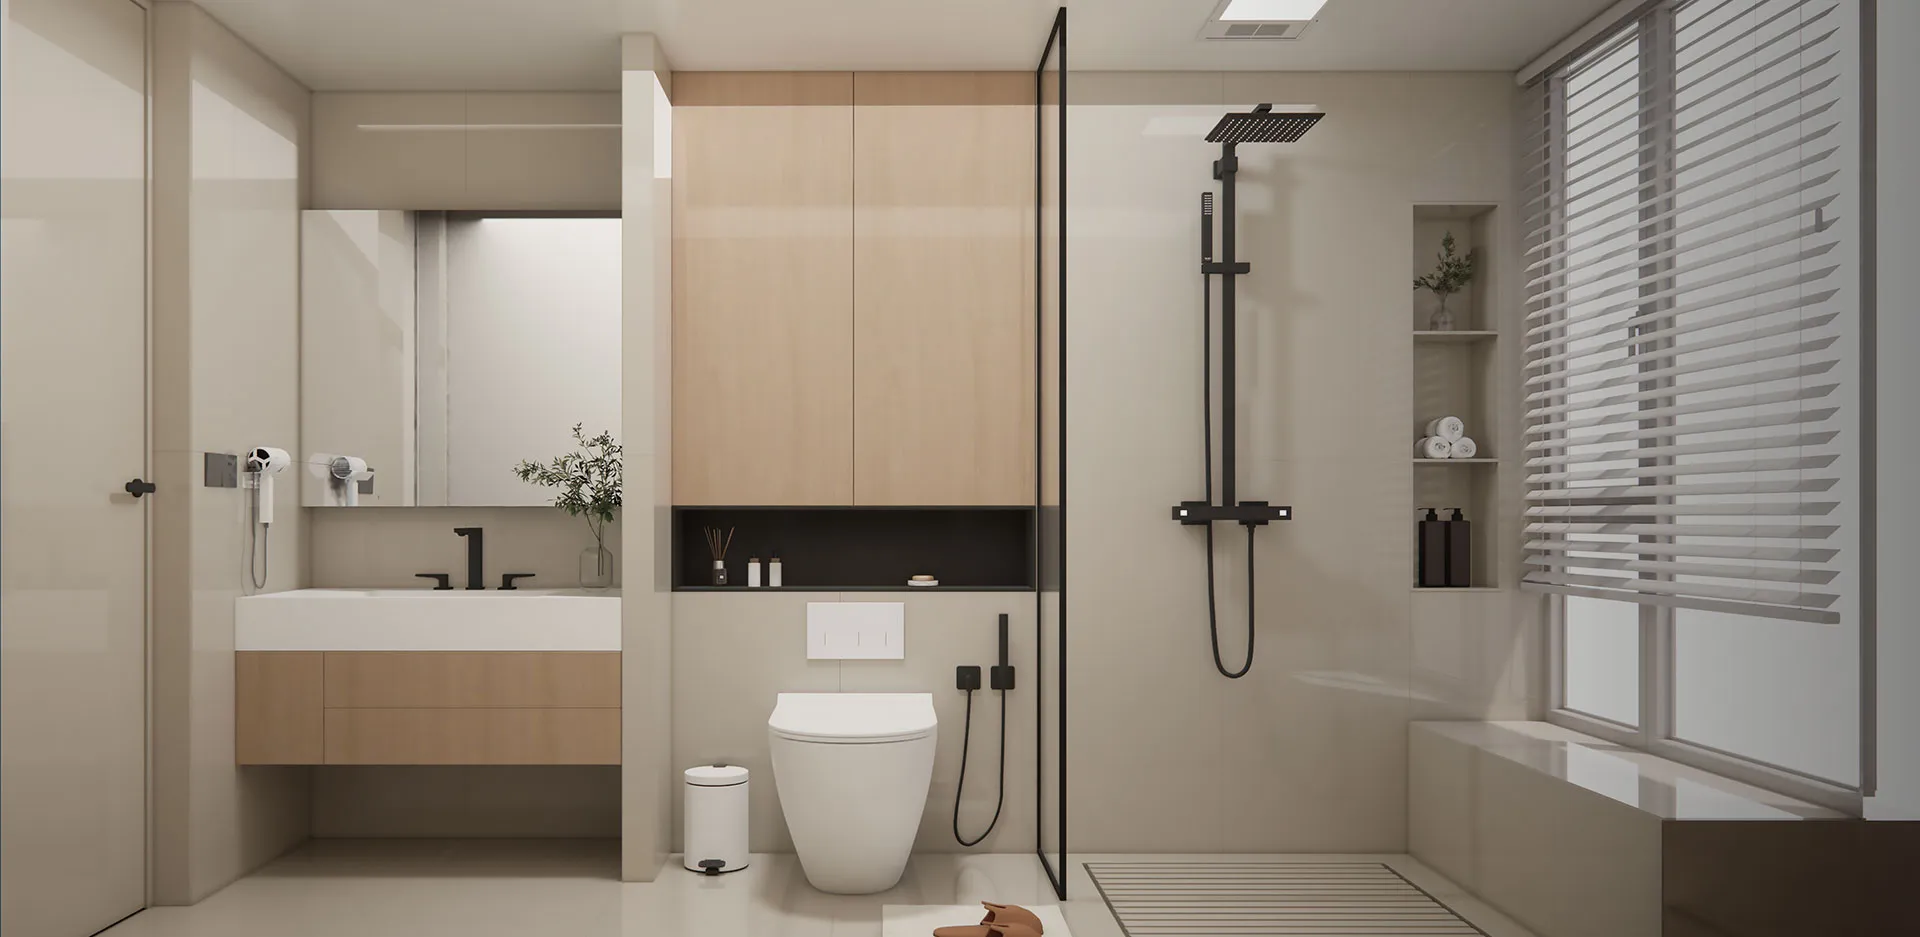
A stainless steel shower niche is a stylish and practical addition to any modern bathroom. It provides a built-in space to store shampoo, soap, and other shower essentials while maintaining a clean, minimalist aesthetic. Unlike plastic or tiled niches, stainless steel ones are durable, easy to clean, rust-resistant, and add a premium touch to your bathroom design.
Why Choose a Stainless Steel Shower Niche?
Before diving into the installation steps, it's worth understanding the advantages of choosing stainless steel over other materials:
Durability: Stainless steel resists corrosion, rust, and impact damage.
Hygiene: It’s non-porous, which prevents mold and bacteria buildup.
Aesthetics: Sleek and modern, it pairs well with many tile styles and bathroom designs.
Maintenance: Easy to clean and requires no sealing or special upkeep.
Tools and Materials You’ll Need
Stainless steel shower niche (pre-fabricated)
Measuring tape and pencil
Stud finder
Level
Utility knife or oscillating multi-tool
Drywall saw or angle grinder (for cutting cement board or tile)
Cement board or waterproof backer board
Thinset mortar or tile adhesive
Waterproof membrane or sealant
Silicone caulk (mold-resistant)
Screws (if the niche has flanges or installation brackets)
Step-by-Step Installation Guide
Step 1: Plan and Measure the Placement
Choose the wall where you want the niche installed—preferably one that does not contain plumbing. Use a stud finder to locate the wall studs and plan the niche between them. Standard niches are usually installed between 16" on-center studs, but custom sizes are available.
Mark the niche location with a pencil.
Ensure it is at a convenient height (typically chest to waist height when standing in the shower).
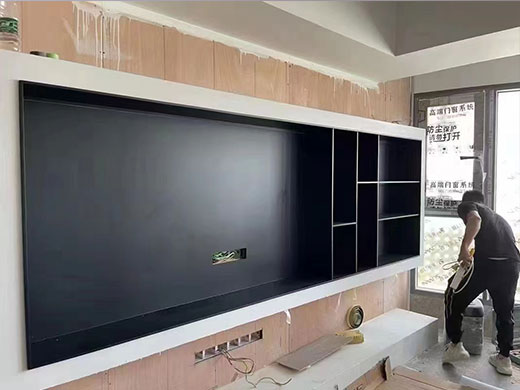
Step 2: Cut the Opening
Use a utility knife to score the tile or drywall first, then use a drywall saw, angle grinder, or oscillating tool to cut through the backer board or tile.
Cut carefully to avoid damaging surrounding tiles.
If there are existing tiles, use a tile blade to avoid cracks or chips.
Step 3: Inspect the Wall Cavity
Check for any obstructions such as pipes, electrical wiring, or ductwork. If you encounter any, you may need to adjust the location or consult a contractor.
If the wall is clear, proceed with the niche installation.
You may reinforce the wall cavity with framing for added support, especially for larger niches.
Step 4: Dry Fit the Niche
Before securing it, dry-fit the stainless steel niche into the opening to ensure it sits flush and fits properly.
Use a level to make sure it is straight.
If it doesn’t fit, trim the opening slightly and clean up any rough edges.
Step 5: Apply Waterproofing
Although stainless steel niches are waterproof, the surrounding wall must also be sealed to prevent moisture damage behind the walls.
Apply waterproof membrane (like RedGard or Schluter-KERDI) around the cutout edges.
Use mesh tape over joints, then coat with waterproofing sealant.
Step 6: Secure the Niche
Depending on the niche design:
Flanged niches: Attach the flange to the surrounding studs using screws.
Recessed box niches without flanges: Bond with tile adhesive or construction adhesive, ensuring full contact on the back and sides.
Confirm that the niche is level and square in all directions.
Clean off any excess adhesive.
Step 7: Seal the Edges
Once the niche is installed, apply mold-resistant silicone caulk around the outer edges to seal any gaps between the niche and the wall.
Smooth the caulk with a finger or caulking tool.
Let it dry as per the manufacturer’s instructions before using the shower.
Step 8: Finish the Surrounding Area
If you installed the niche during a full renovation, continue tiling around the niche. Stainless steel niches typically have finished edges, so no additional tile trim is needed.
Wipe down the surface to remove dust or fingerprints.
Avoid abrasive cleaners to maintain the brushed or polished finish.
Tips for a Clean Installation
Choose a brushed finish for a more forgiving, fingerprint-resistant surface.
Use a laser level if possible for perfect alignment.
If you're installing multiple niches or a custom size, pre-planning the tile layout is critical.
Match the niche size to your most commonly used shower bottles for best functionality.
Installing a stainless steel shower niche can significantly enhance the look and usability of your shower. With its modern appearance and practical benefits, it offers a long-lasting storage solution that integrates seamlessly into your bathroom design. While installation is straightforward for those with some DIY experience, always consult a professional if your wall contains plumbing or if you’re unsure about structural integrity.
By following the steps outlined above—careful measurement, proper waterproofing, and a clean installation—you’ll achieve a sleek, high-end finish that serves you well for years to come.

Hot News

Best Stainless Steel Wine Cabinet for Home
2025.11.28

Stainless Steel Cabinets vs. Wood Cabinets: Which is the Better Choice for Your Kitchen?
2025.11.27

Minimalist Kitchen Design: How Stainless Steel Cabinets Fit the Trend
2025.11.26
Creative Uses of Stainless Steel Wall Niches in Contemporary Interiors
2025.11.26

Stainless Steel vs. Wooden Wine Cabinets: Pros & Cons
2025.11.04

Glass Door vs. Solid Door Stainless Steel Wine Cabinets: What’s Best?
2025.10.30

High-End vs. Budget-Friendly Stainless Steel Wine Cabinets: A Buyer’s Guide
2025.10.28

Top Features to Look for in a Stainless Steel Wine Cabinet
2025.10.24

